Installation Videos

The following videos are meant to help solar professionals understand the major components and the basic steps for installing Advanced Racking hardware

These videos are not meant to replace installation manuals or project specific PE reports

Chalkboard.jpg

THL Ballasted

The Top Hat Landscape (THL) ballasted racking system derives its name from the shape of the ballast tray. The version of the ballasted rack in the video is designed for 5 degree tilt with a 6.5" inter-row spacing. The components are manufactured using US made galvanized steel. The product boasts a low part count and simple installation process. 

Standing Seam

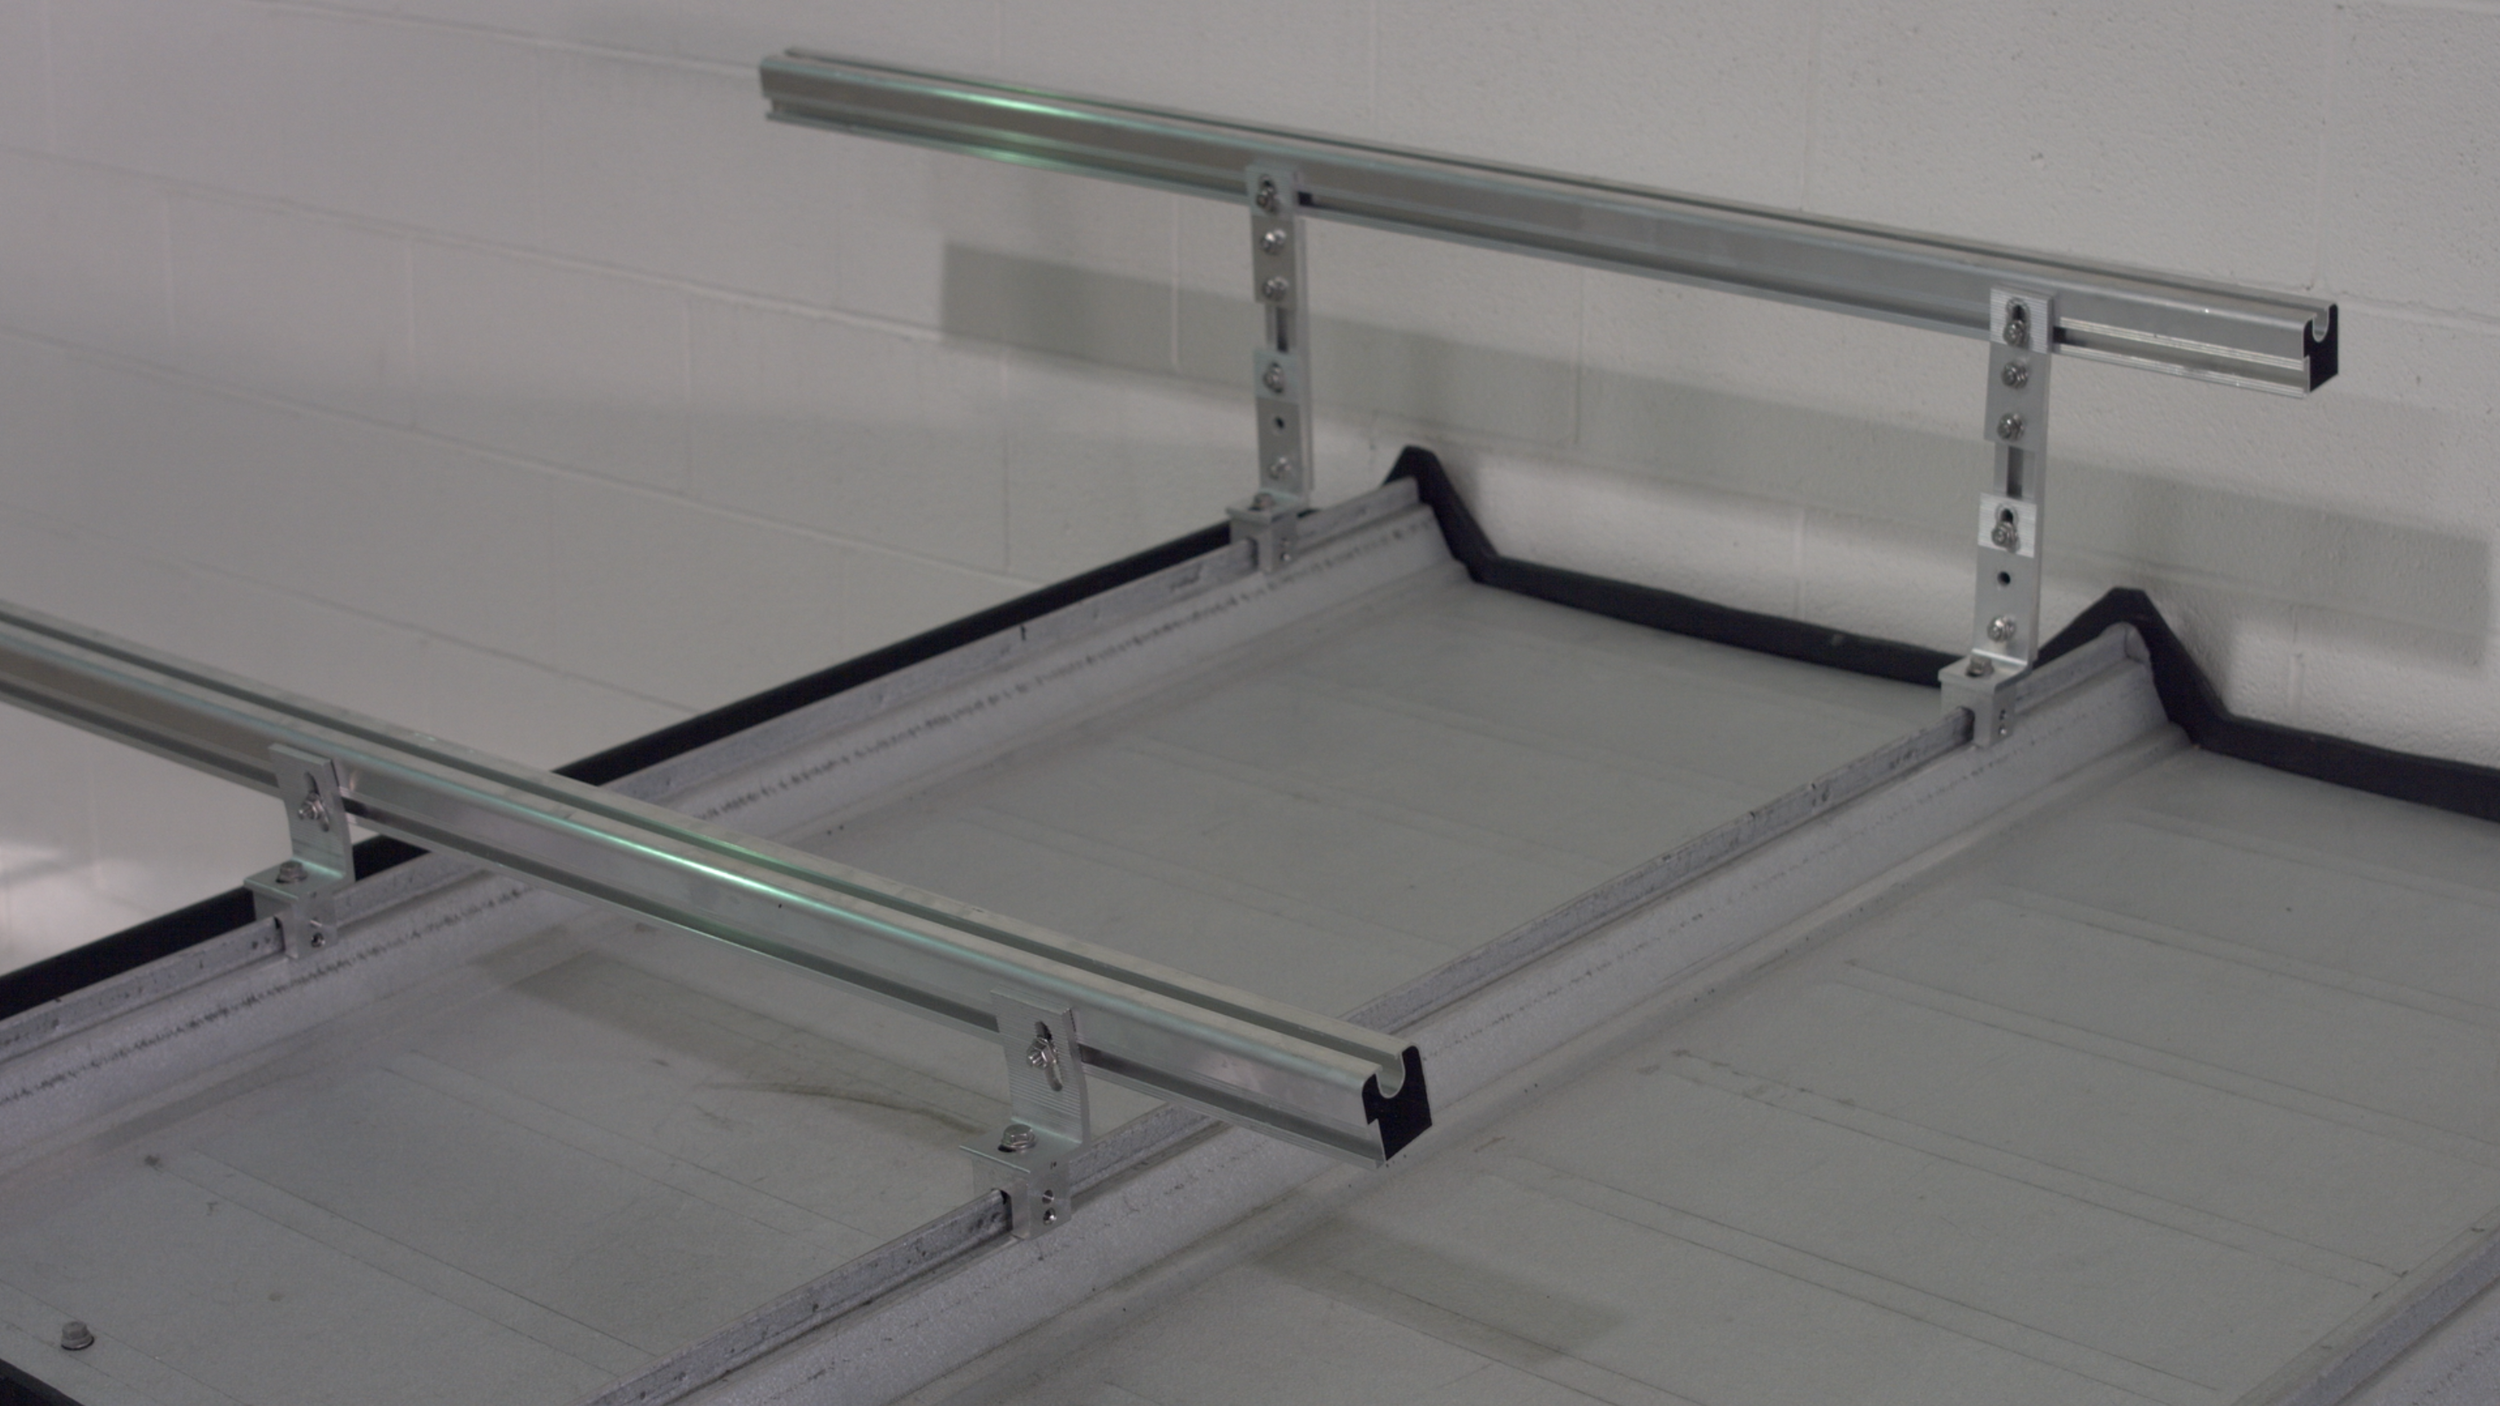
The Standing Seam Tilt Rack is designed for standing seam metal roofs. It can be paired with nearly any seam clamp from nearly any manufacturer. The racking system identified in the video has been tailored to accommodate parallel configurations. As an option to Base rail and Top rail configurations, this tilted racking system uses a Rear Brace to stabilize the rows of racking simplifying the installation process and eliminating the need for an additional layer of rail.   

Purlin Bracket Flush Mount

The Purlin Bracket Flush Mount system is designed for exposed fastener metal roofs also known as Trapezoidal or Corrugated metal roofs. Similar to the Versa Bracket the Purlin Bracket connects directly to the steel purlin structural member in the valley of the roof. Advanced Racking & Solar also offers a variety of attachment hardware such as the Protea Bracket that mounts on top of the rib of the metal roof.   

9 QUICK tips before you start watching

1

The Advanced Platform uses the same design on each roof surface, meaning that after you've installed the roof connection kit, the rails, module clamps, and bonding process is the same.

2

Ballasted systems and metal roofs vary greatly, so proper engineering and design should be completed prior to purchasing mounting hardware. Not all Roof Connection Kits apply to all roof types.

3

Before installation, it’s important to review project-specific design packets and product install instructions.

4

Some project-specific install steps may need to be evaluated to ensure they are tailored to fit your project design and size.

5

You’ll hear us refer to metal decks with screws visible from the surface as Exposed Fastener, but of course these go by other names like screw-down, trapezoidal, corrugated.

6

Be sure to employ proper rooftop practices and safety gear.

7

Have a plan before you start loading the roof with product — proper staging will make your installation much more efficient.

8

We recommend starting in the south-west corner and building out the array from there. Some rooftops won’t lend themselves to starting in this location, but installation drawings will show measurements to the assumed starting point. Measurements are given from the inside of the parapet or roof edge to the south-west corner of the first block.

9

For help or questions, contact us by email info@advancedracking.com or call 540.491.4091.
 

Chalkboard.jpg


FLASHGUARD SHINGLE

FLASHING


  • The FlashGuard product is approved by major manufacturers of Asphalt Shingles and is compatible with any racking that uses a T-bolt with a diameter of 3/8” or less. 
  • This video demonstrates the first part of a Flashguard installation. The second part of a Flashguard installation is exactly the same as BlokGrab Solid, so after you watch this video you'll want to watch the BlokGrab Solid video from 7:00 onwards.


DECK BRACKET

ON EXPOSED FASTENER METAL ROOF


  • This video demonstrates the first part of a Deck Bracket installation. The second part of a Deck Bracket installation is exactly the same as BlokGrab Solid, so after you watch this video you'll want to watch the BlokGrab Solid video from 7:00 onwards.


Purlin BRACKET

ON EXPOSED FASTENER METAL ROOF


  • This video demonstrates the first part of an AG Bracket installation. The second part of an AG Bracket installation is exactly the same as BlokGrab Solid, so after you watch this video you'll want to watch the BlokGrab Solid video from 7:00 onwards.


Roof Channel

ON EXPOSED FASTENER METAL ROOF


  • The Roof Channel is ideal for screw-down metal roofs with wood framing, such as agricultural barns and garages.

  • This video demonstrates the first part of a Roof Channel installation. The second part of a Roof Channel installation is exactly the same as BlokGrab Solid, so after you watch this video you'll want to watch the BlokGrab Solid video from 7:00 onwards.


Standing Seam Flushmount


  • On roofs with standing seams, seam clamps are ideal. They don’t penetrate the roof, and yet provide the necessary capacity to install PV. There are many different seam profiles and seam clamps, so it’s important to ensure the clamp fits properly. The Advanced Platform can accommodate nearly any clamp on the market. 

  • This video demonstrates the first part of a Standing Seam installation. The second part of a Standing Seam installation is exactly the same as BlokGrab Solid, so after you watch this video you'll want to watch the BlokGrab Solid video from 7:00 onwards.


Standing Seam Tilt System


  • This video demonstrates the first part of a Standing Seam Tilt installation. The second part of a Standing Seam Tilt installation is exactly the same as BlokGrab Solid, so after you watch this video you'll want to watch the BlokGrab Solid video from 7:00 onwards.


QUESTION ABOUT ONE OF THE VIDEOS?

CONTACT US!